
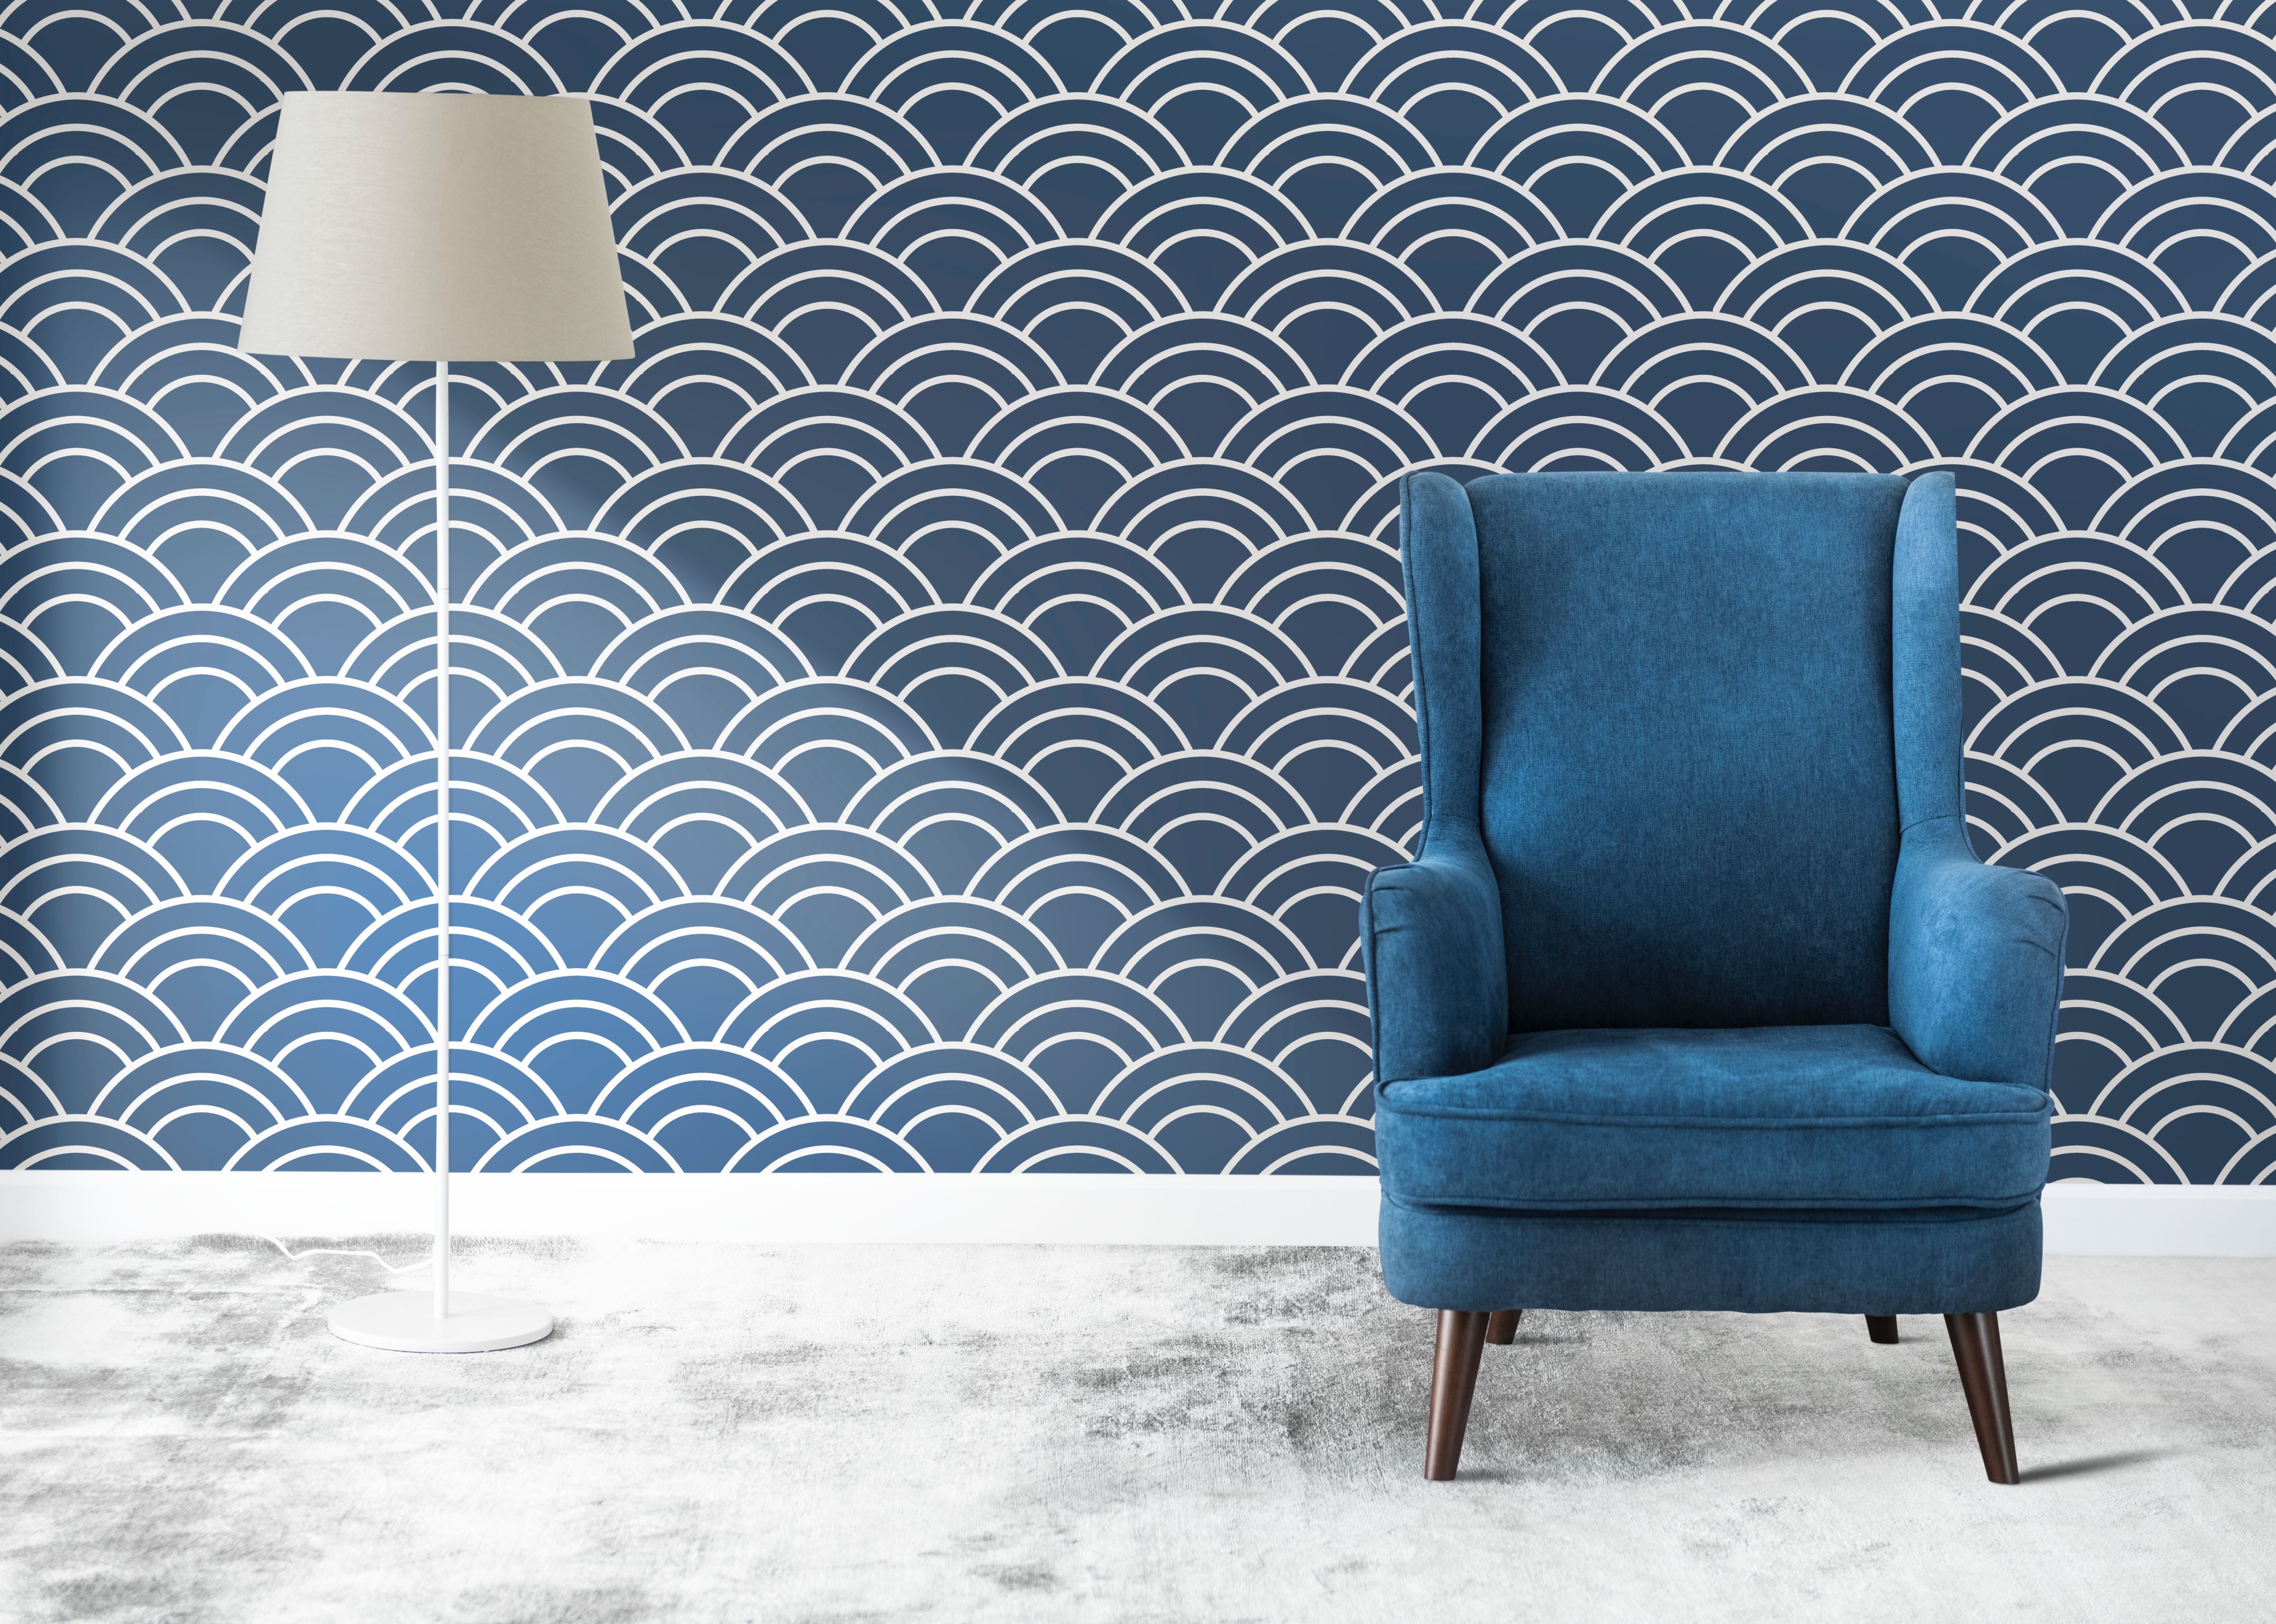
DIY Wallpaper Tips and Tricks
"Step 1: Choosing Your Wallpaper Materials"
Discover the Perfect Blend: Our Wallpaper Material Seamlessly Combines Cloth and PVC for Unmatched Strength and Vibrant Aesthetics. Experience the Durability of Plastic Paired with the Rich, Colorful Appeal of Fine Cloth in Every Inch.
"Step 2: Precision Measurements of the Wall"
Utilize a measuring tape for accurate vertical measurements, ensuring precise seam placement. Order approximately one foot more wallpaper than needed for optimal coverage and pattern alignment.
"Step 3: Prepping Your Walls"
Remove fixtures, switches, and covers. Sand walls for smooth adhesion, creating a perfect canvas for your wallpaper.

"Step 4: Applying Primer for Success"
Use primer with a roller or brush to enhance adhesion and reduce the risk of tearing or peeling. The Smoother the base, the higher the adhesive strength and life span. 
"Step 5: Roll On the Wallpaper Adhesive/Paste"
Use a half-inch roller for uniform application of wallpaper paste. It is Not mandatory as our wallpaper material is self adhesive but it can be used for greater strength and lifespan. Multiple wallpaper adhesives, pastes available in the market.
"Step 6: Fold Before Applying – The Booking Technique"
Efficiently apply paste and fold all wallpaper panels before application for a smoother and easier process. This way, wallpaper can be handled easily while applying it on the wall. 
"Step 7: Inside Corners and Precise Overlapping"
Ensure straight corners. Overlap inside corner seams by 1/8 inches, as marked on the wallpaper for a flawless finish.
"Step 8: Smooth Things Out – Post-Application"
Utilize a smoother to eliminate excess paste, ripples and or bubbles, ensuring a professional smooth finish.
"Step 9: Final Touches and Seam Smoothing"
Smooth seams with a roller to prevent curling edges. Trim excess wallpaper with a utility knife.
Final Step:
Step back, relax and enjoy your creation.
Read more
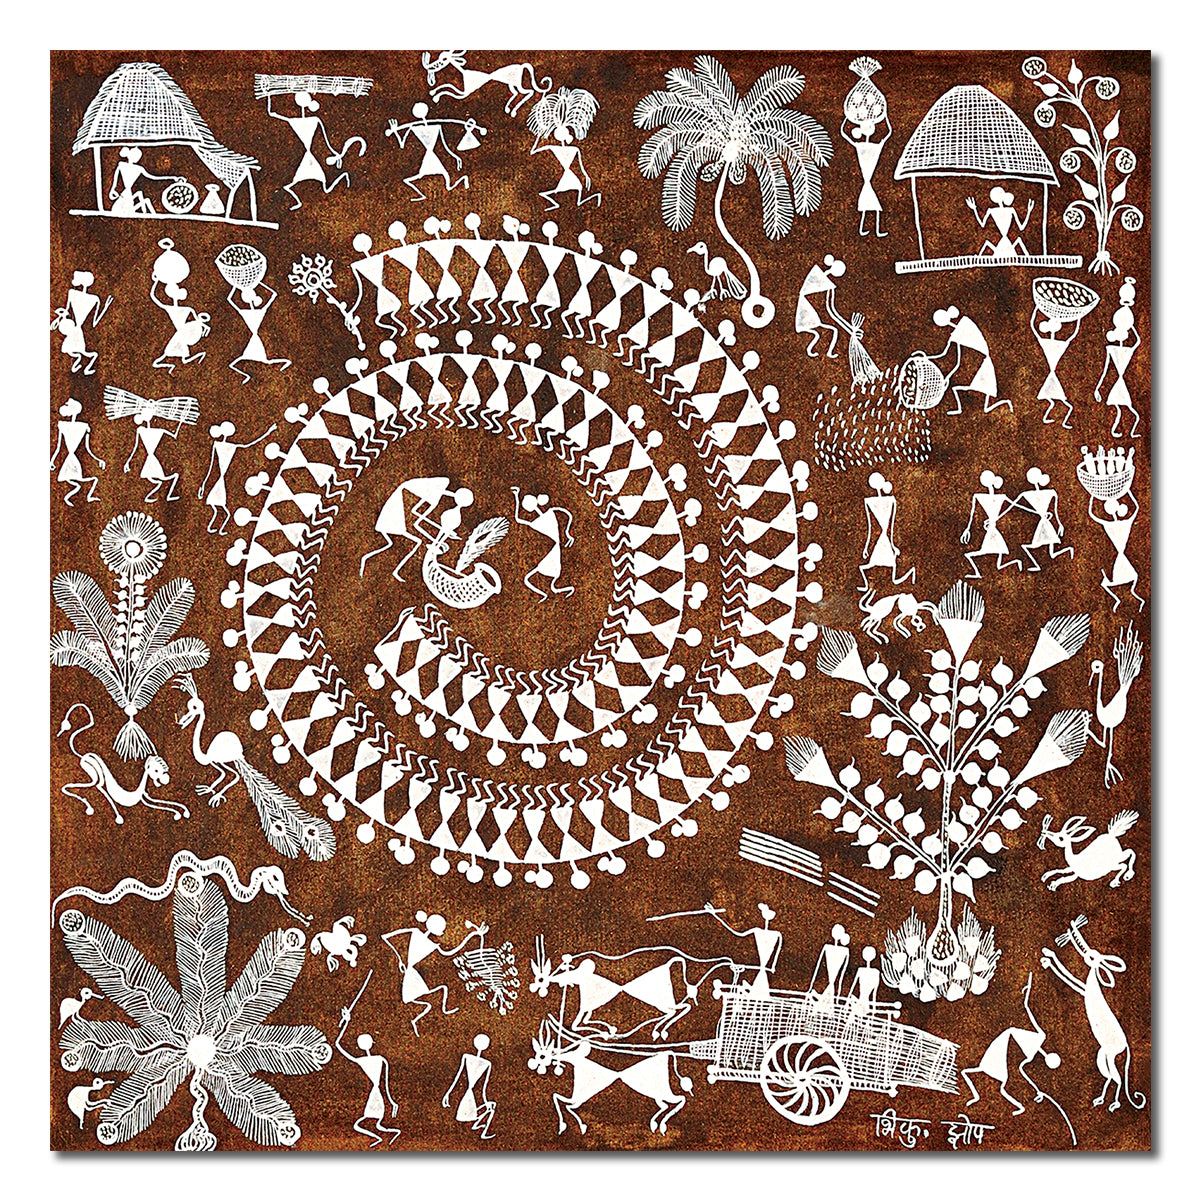
Warli Artwork: A Timeless Tapestry of Tribal Traditions
Origin and Historical Significance Warli art, an ancient tribal art form, finds its roots in the Warli tribe of the western Indian state of Maharashtra. This captivating art form has a history dat...
Read more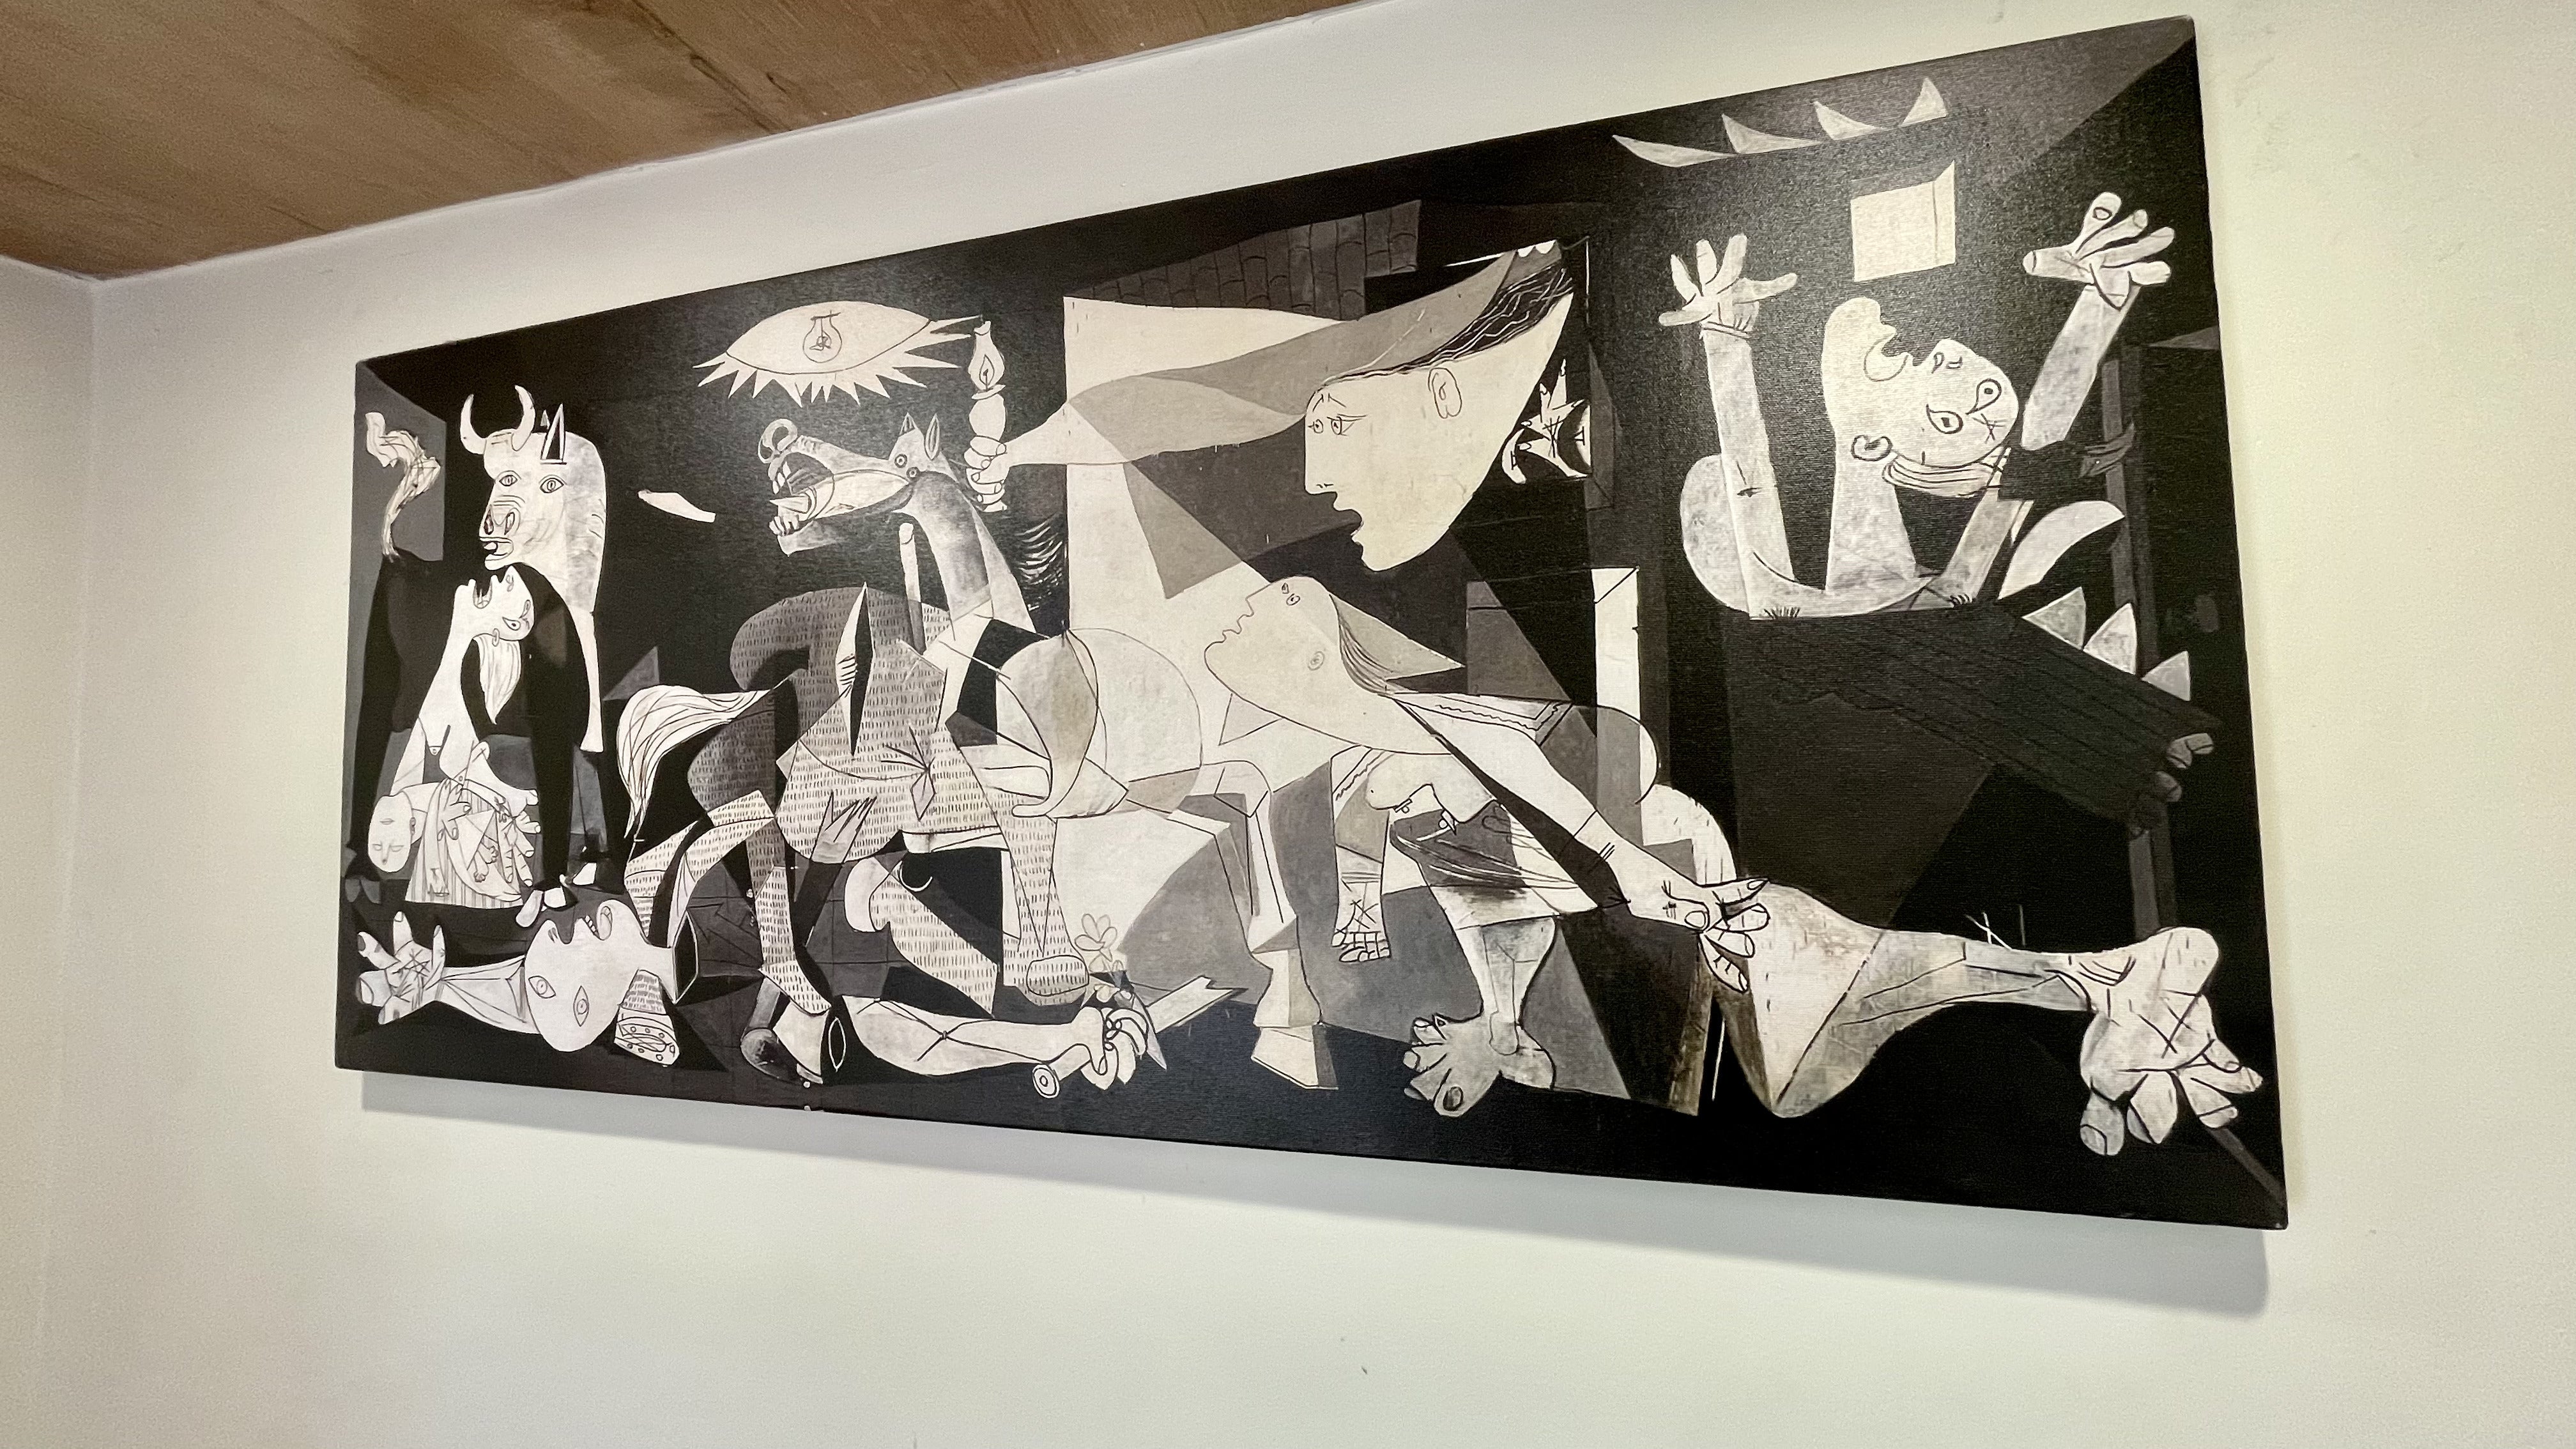
Discover the modern elegance of gallery-wrapped canvas prints. Our curated collection showcases frameless masterpieces, seamlessly extending art beyond conventional boundaries. Ready to hang and ef...
Read more
Leave a comment
This site is protected by hCaptcha and the hCaptcha Privacy Policy and Terms of Service apply.